Walkthrough 7-1: Create and reference subflows and private flows
In this walkthrough, you continue to work with apdev-examples.xml. You will:
· Extract processors into separate subflows and private flows.
· Use the Flow Reference component to reference other flows.
· Explore event data persistence through subflows and private flows.
Starting file
If you did not complete the previous walkthrough, you can get a starting file here. This file is also located in the solutions folder of the student files ZIP located in the Course Resources.
Collapse a flow
1. Return to apdev-examples.xml in Anypoint Studio.
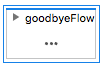
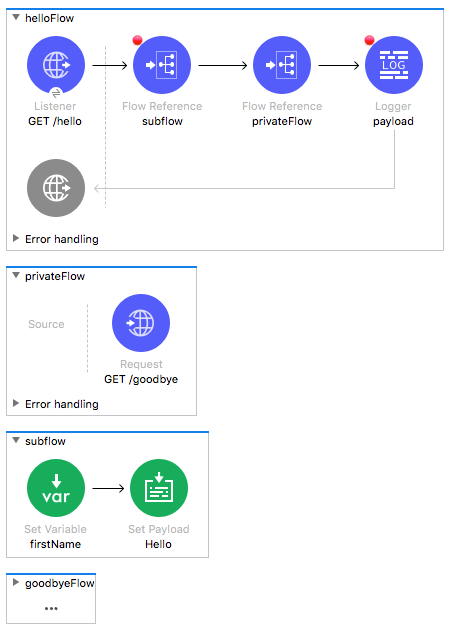
2. Click the arrow to the left of the goodbyeFlow to collapse it.
Create a subflow
3. In the Mule Palette, select Core.
4. Drag a Sub Flow scope from the Mule Palette and drop it between the existing flows in the canvas.
5. Change the name of the flow to subflow.

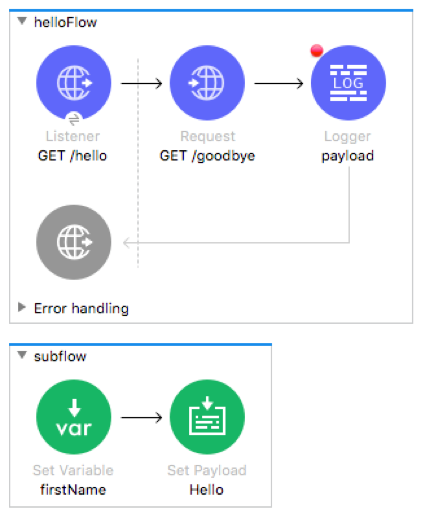
6. Remove the breakpoint from the Set Payload transformer in helloFlow.
7. Select the Set Variable and Set Payload transformers in helloFlow and drag them into the subflow.
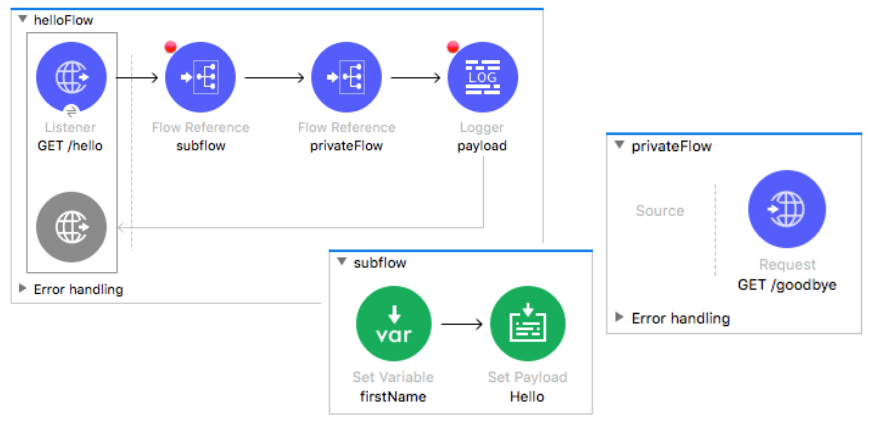
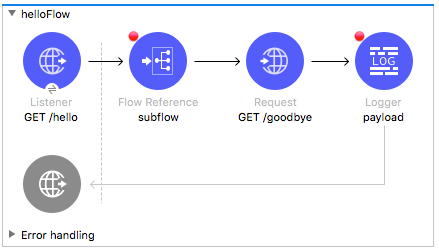
Reference a subflow
8. Drag a Flow Reference component from the Mule Palette and drop it into helloFlow between the GET /hello HTTP Listener and the GET /goodbye HTTP Request.
9. In the Flow Reference properties view, set the flow name and display name to subflow.
10. Add a breakpoint to the subflow Flow Reference.
Extract processors into another flow
11. Right-click the GET /goodbye HTTP Request and select Extract to > Flow.
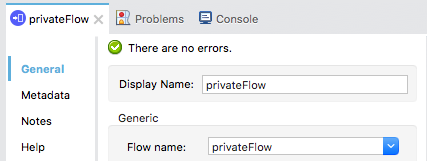
12. In the Extract Flow dialog box, set the flow name to privateFlow.

13. Leave the target Mule configuration set to Current and click OK.
14. Look at the new Flow Reference properties view; set the display name to privateFlow.
15. Drag privateFlow above subflow in the canvas.
Debug the application
16. Save the file to redeploy the application in debug mode.
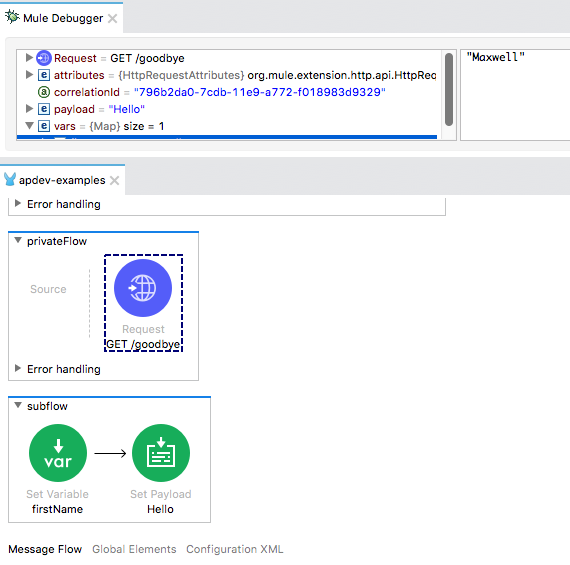
17. In Advanced REST Client, send the same request to http://localhost:8081/hello?fname=Maxwell.
18. In the Mule Debugger, step through the application, watching as you step into and out of the flows and subflows.

19. Step through the rest of the application.
20. In Advanced REST Client, send the same request again.
21. In the Mule Debugger, step through the application again, this time watching the values of the attributes, payload, and variables in each of the flows.
22. Step through the rest of the application.
23. Switch to the Mule Design perspective.