Walkthrough 5-3: Restrict API access with policies and SLAs
In this walkthrough, you govern access to the API proxy. You will:
· Add and test a rate limiting policy.
· Add SLA tiers, one with manual approval required.
· Add and test a rate limiting SLA based policy.
Starting file
This walkthrough uses Anypoint Platform. There is no starting file. To complete the walkthrough, you must have completed the preceding walkthrough.
Create a rate limiting policy
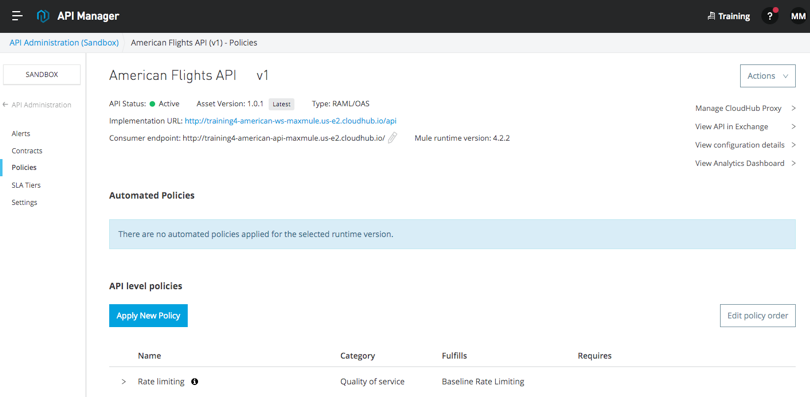
1. Return to the Settings page for your American Flights API in API Manager.
2. In the left-side navigation, select Policies.
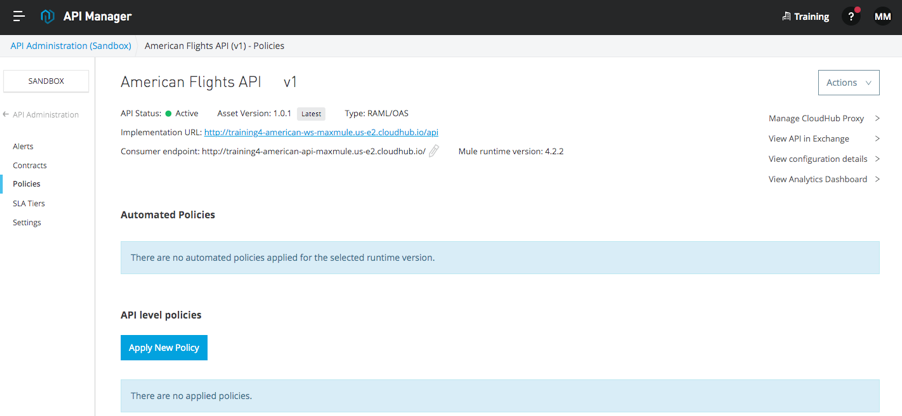
3. Click the Apply New Policy button.
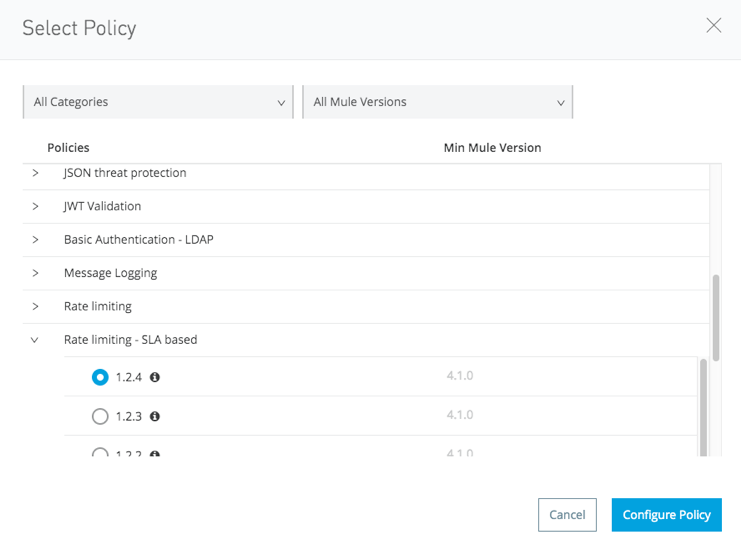
4. In the Select Policy dialog box, expand Rate limiting and select the latest version for the Mule runtime version you are using.
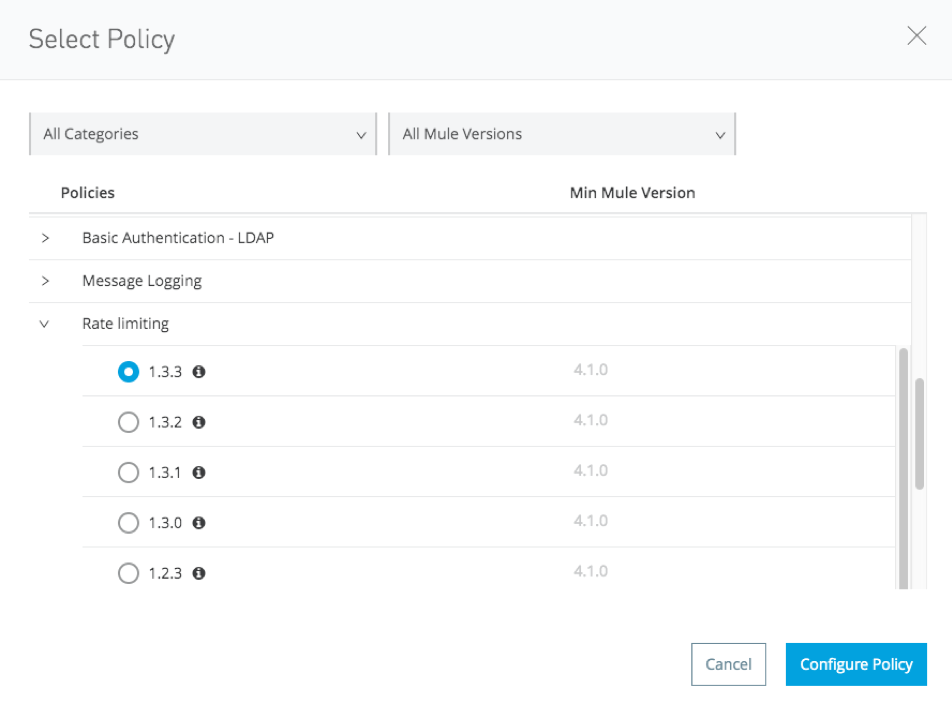
5. Click Configure Policy.
6. On the Apply Rate limiting policy page, set the following values and click Apply:
· # of Reqs: 3
· Time Period: 1
· Time Unit: Minute
· Method & Resource conditions: Apply configurations to all API methods & resources
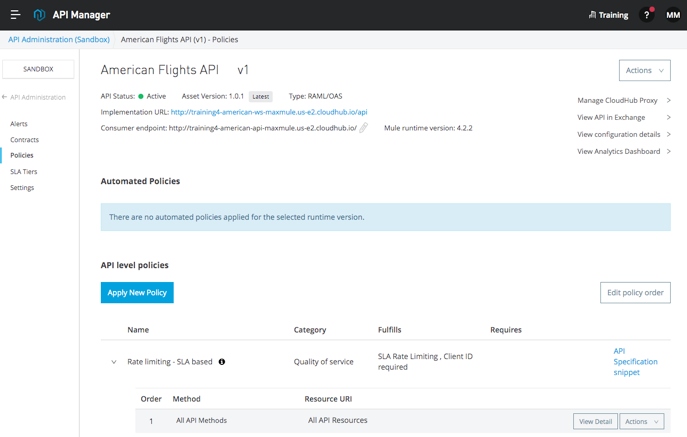
7. Select Expose Headers.
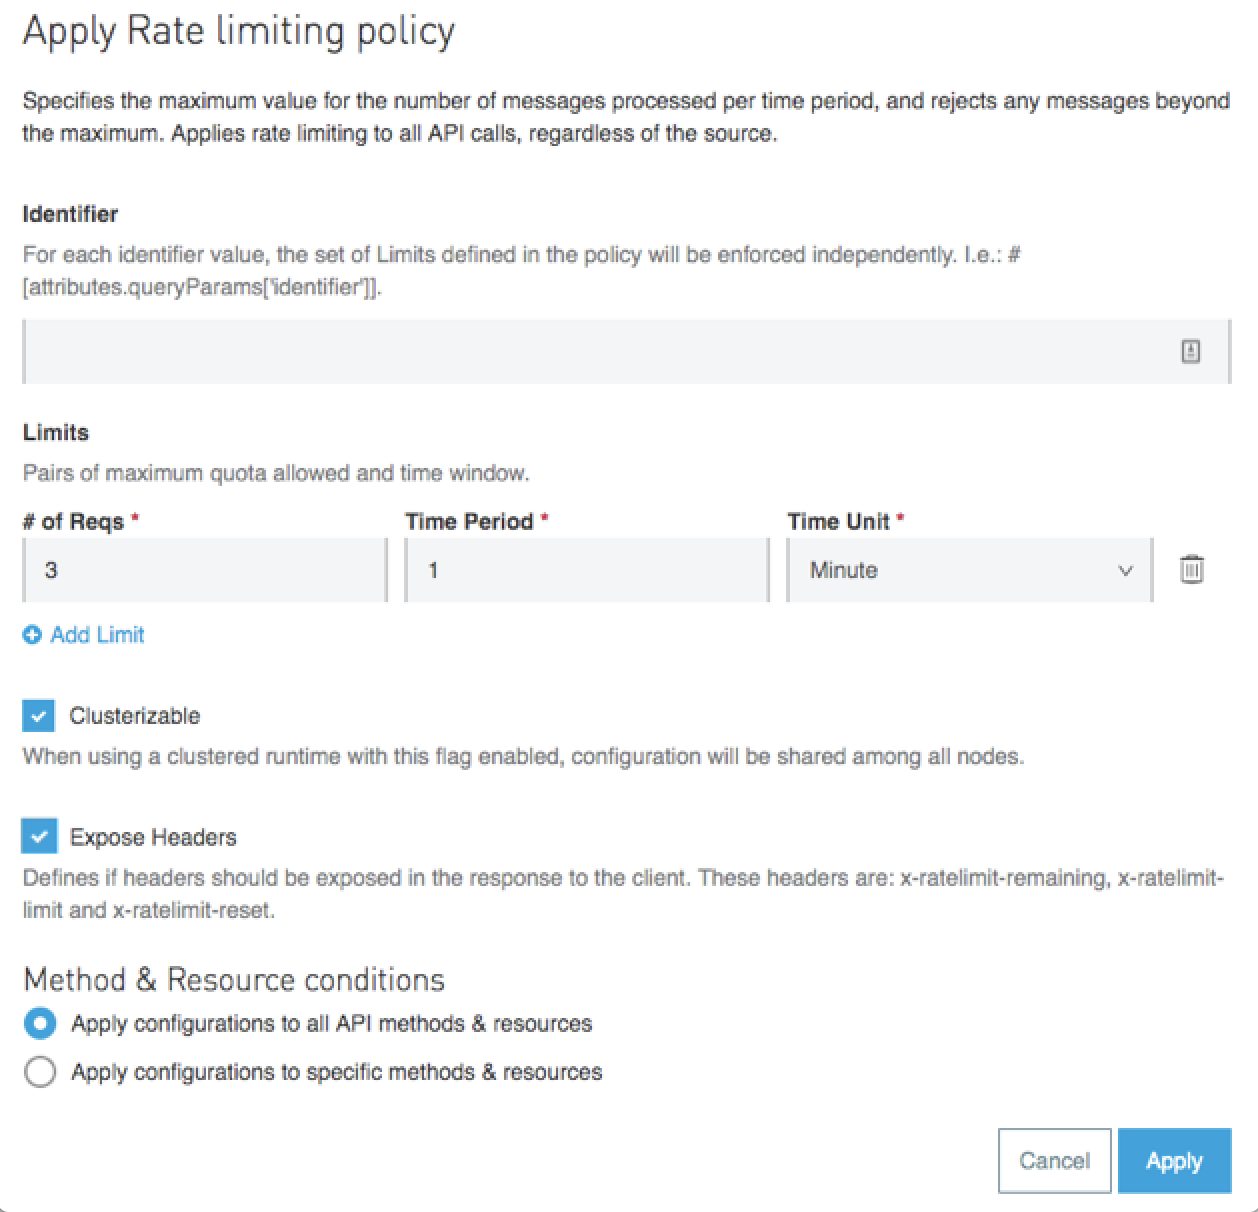
8. Click Apply; you should see the policy listed for your API.
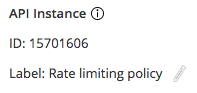
9. In the left-side navigation, select Settings.
10. Change the API instance label to Rate limiting policy.
Test the new rate limiting policy
11. Return to the browser tab with your American Flights API in Exchange.
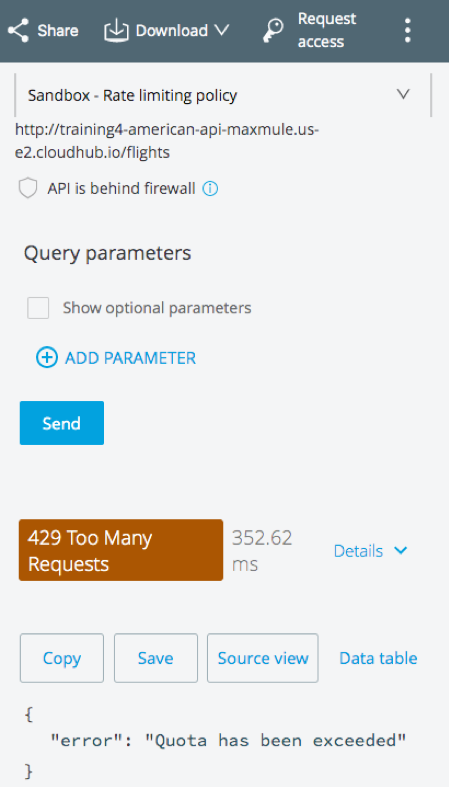
12. In the left-side navigation, select the /flights GET method.
13. Select the Sandbox – Rate limiting policy API instance.
Note: You may need to refresh the page to see the new label for the API instance.
14. Press Send until you get a 429 Too Many Requests response.
Create SLA tiers
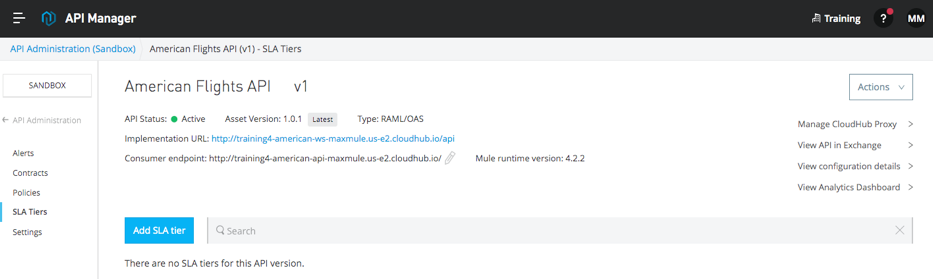
15. Return to the browser tab with your American Flights API in API Manager.
16. In the left-side navigation, select SLA Tiers.
17. Click the Add SLA tier button.
18. In the Add SLA tier dialog box, set the following values:
· Name: Free
· Approval: Automatic
· # of Reqs: 1
· Time Period: 1
· Time Unit: Minute
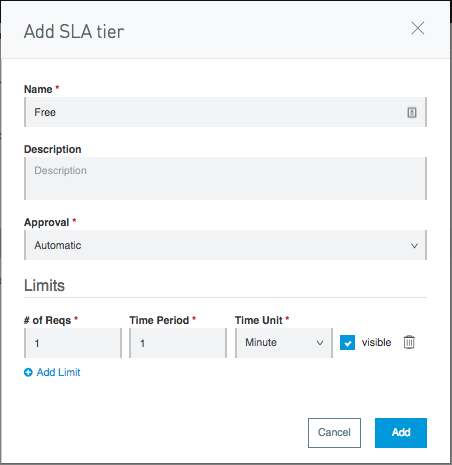
19. Click the Add button.
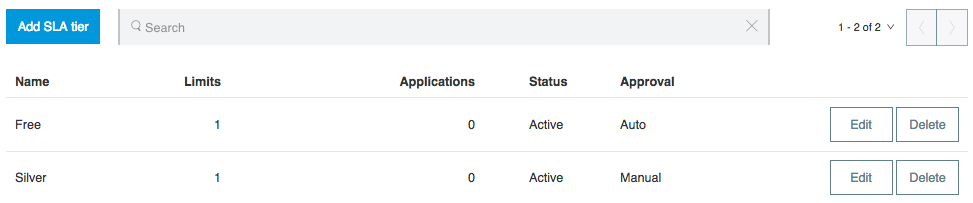
20. Create a second SLA tier with the following values:
· Name: Silver
· Approval: Manual
· # of Reqs: 1
· Time Period: 1
· Time Unit: Second
Change the policy to rate limiting – SLA based
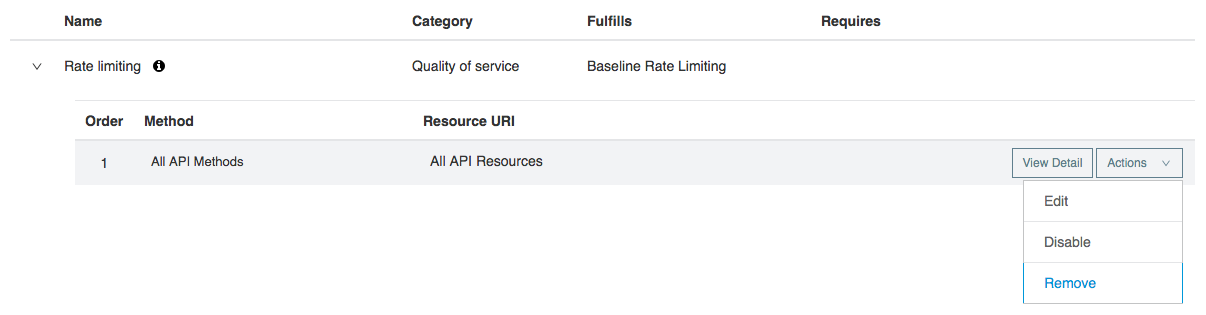
21. In the left-side navigation, select Policies.
22. Expand the Rate limiting policy.
23. Click the Actions button and select Remove.
24. In the Remove policy dialog box, click Remove.
25. Click the Apply New Policy button.
26. In the Select Policy dialog box, expand Rate limiting - SLA based and select the latest version for the Mule runtime version you are using.
27. Click Configure Policy.
28. On the Apply Rate limiting – SLA based policy page, look at the expressions and see that a client ID and secret need to be sent with API requests as headers.
29. Select Expose Headers.
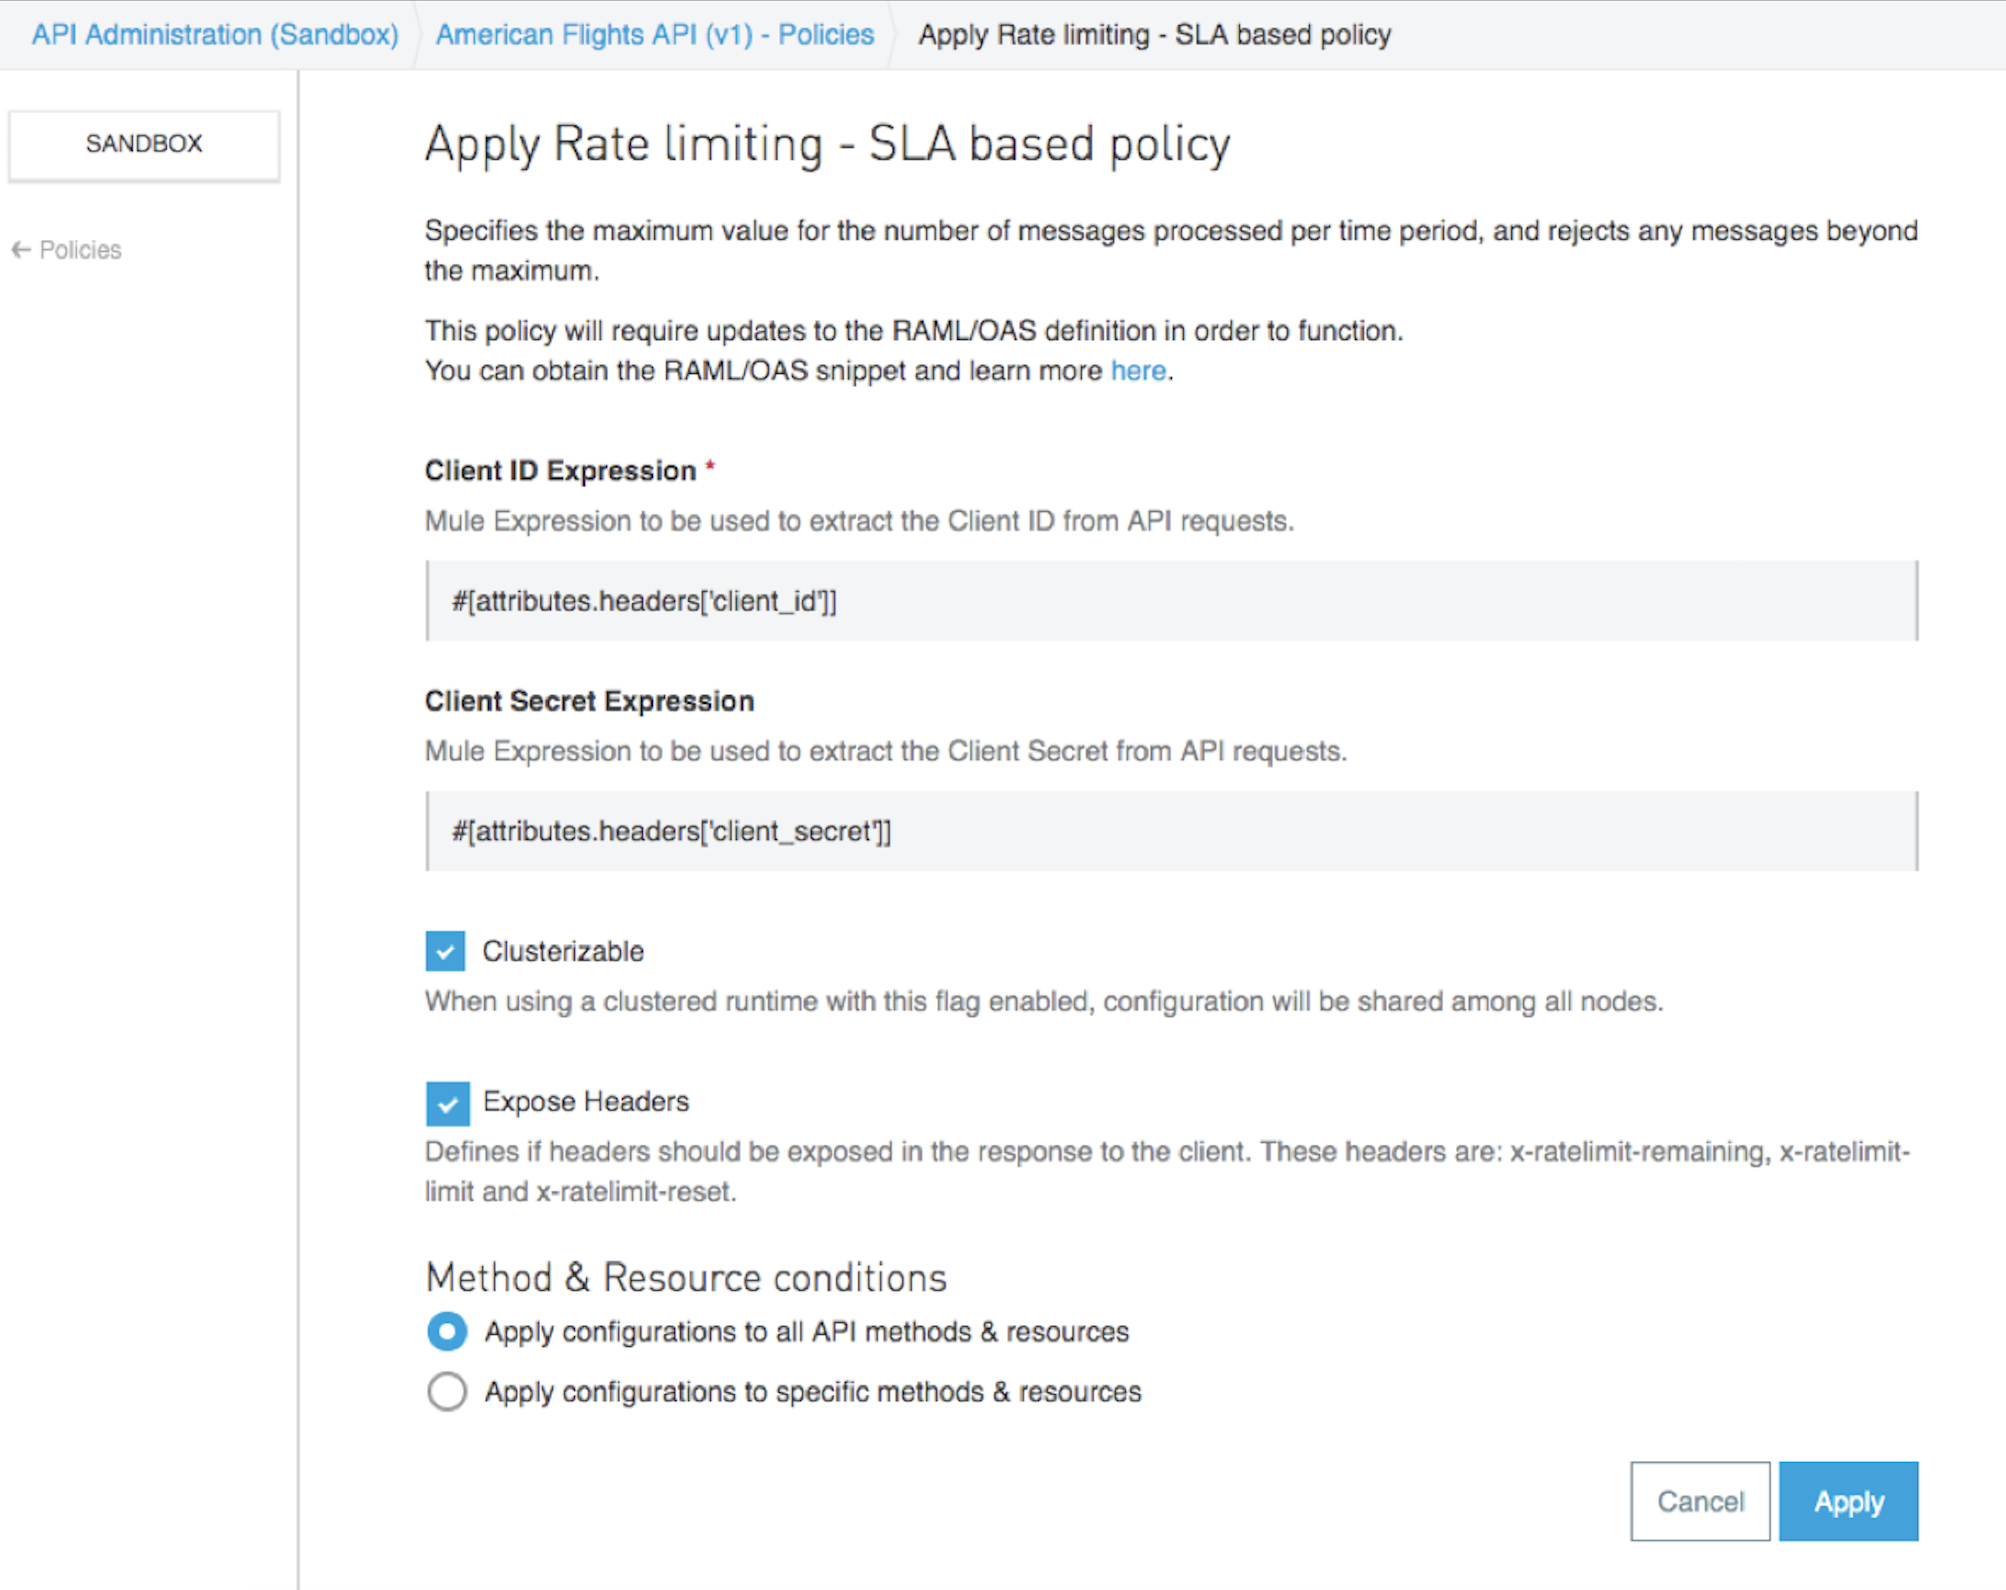
30. Click Apply.
31. In the left-side navigation, select Settings.
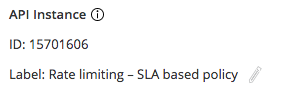
32. Change the API instance label to Rate limiting – SLA based policy.
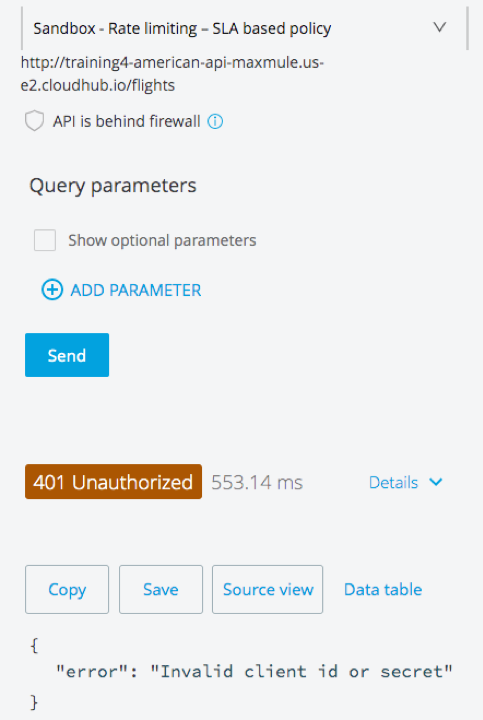
Test the rate limiting – SLA based policy in Exchange
33. Return to the browser tab with your API in Exchange.
34. Refresh the page and select the /flights GET method to make a call to the Sandbox – Rate limiting – SLA based policy.
35. Click Send; you should get a 401 Unauthorized response with the error Invalid client id or secret.